
Overview
The GPU Trader console allows you to find, rent, manage, and use GPU instances. Rented instances are metered and billed in 1-minute intervals. In this guide you will learn how to find and rent an instance. The subsequent guides will teach you how to use templates, connect to stacks, and more.
Use the
API to work with GPU Trader instances programmatically.
Find an Instance
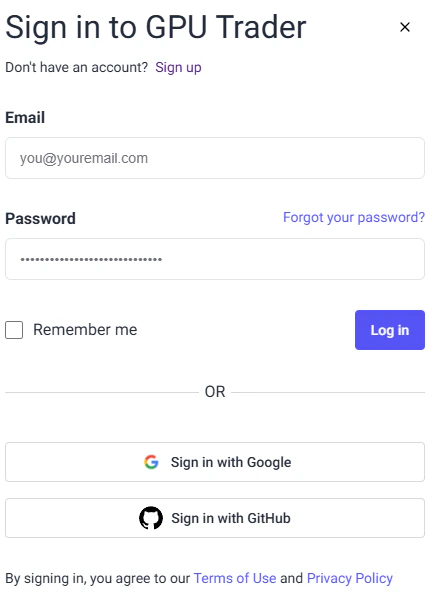
Sign In
Visit console.gputrader.io and authenticate with your email or preferred identity provider.
Browse Instances
The console allows you to browse all instances in GPU Trader’s inventory. At the top of the page, you will find featured inventory. These instances are new or have had price changes. Underneath the featured inventory is a list of all instances. You can scroll to find an instance that fits your needs. If you don’t see the right instance, you can load more results using the ‘Load More’ button at the bottom of the page.
Since the inventory list can be long, we recommend using the filters to refine your results.
If you don’t see the model you are looking for, don’t worry! You can send us a note and there is a good chance we can find it for you quickly.
Request a GPU.
Filtering
The console offers six filters to refine your search:
- Model
- Number of GPU cards
- vRAM
- Instance Type (on-demand and reserved)
- Location
- Price
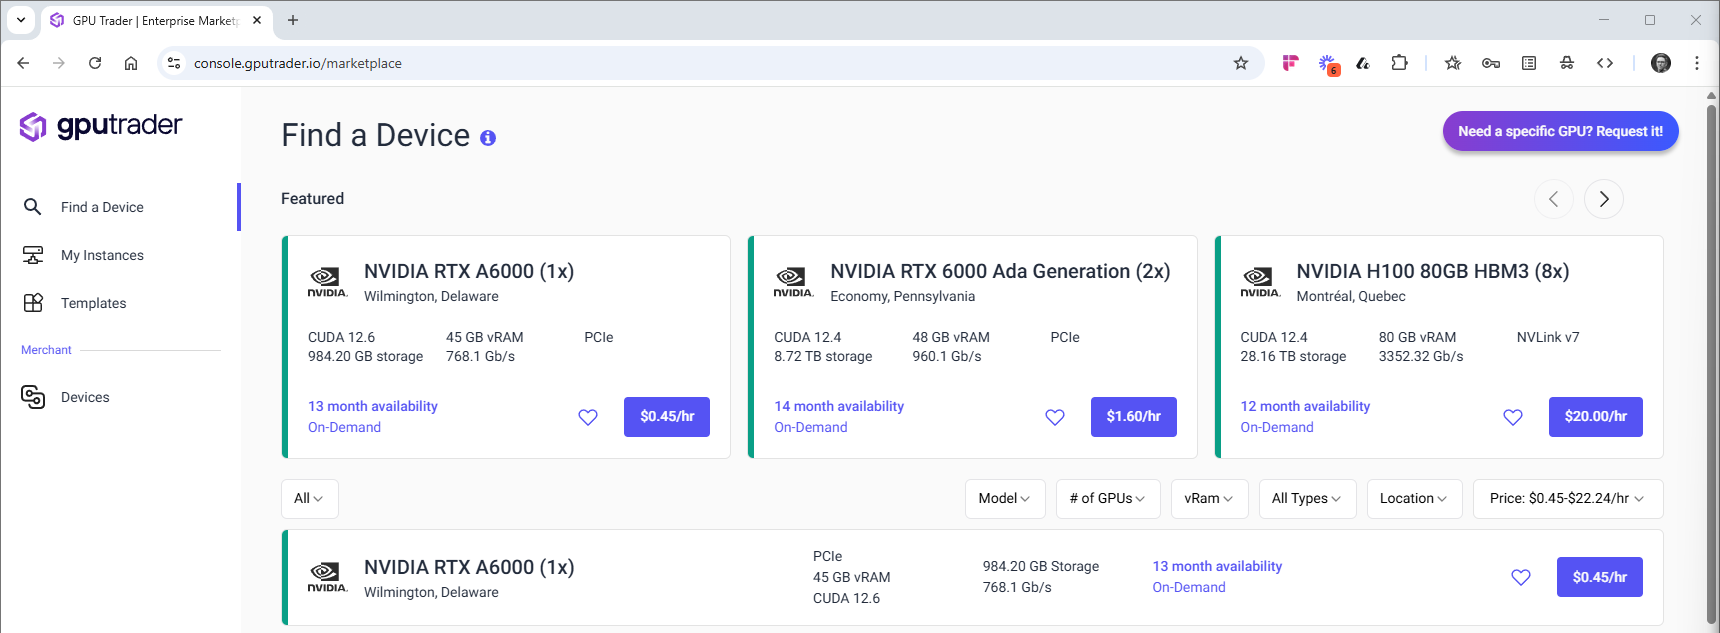
Instance Details
Each instance card provides the minimum details needed to choose the one that fits the requirements of your workload.
Availability
On the left side of each card a color represents the avaiabilty of the instance. Green represents instances that are available to rent. While gray represents instances that are currently rented.
You can favorite instances that are rented.
Favoriting
Click the ‘Heart’ icon on the right side of the instance card to save an instance to your favorites. If you favorite an instance that is currently rented we will notify you when it becomes available.
Configuration
Click the button with the instances total hourly price to see all the instance details.
GPUs are priced: (price per card hour)*(# of cards). On-demand instances are metered at 1-minute intervals.
Rent an Instance
After you click the ‘Instance Price’ a modal will appear with the instance details.
At the top of the modal you will notice a hold has been placed on the instance for 10 minutes. This will give you time to review the instance specification, find your payment information, or make up your mind without worrying that someone else will rent the instance. If you click ‘Cancel’ the hold will be released.
On the modal you will also find:
- The instance specification
- A slider to chose the number of cards allocated to the instance
- A price breakdown to understand your costs per hour, day, and month.
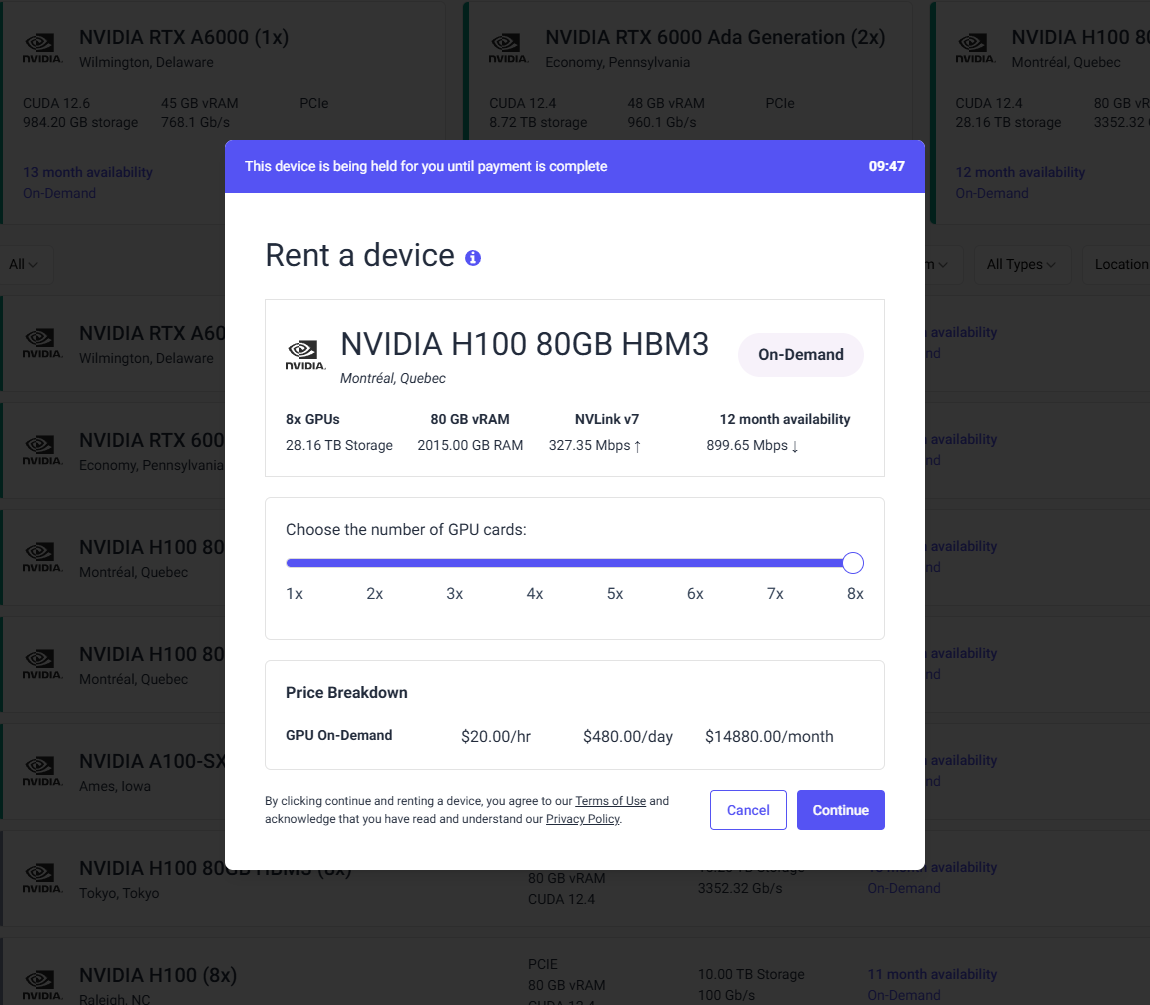 If the device specification meets your criteria click ‘Continue’. If your account information does not have a saved payment method on file you will be asked to add your credit card or choose a supported payment method.
If you have already entered your payment information you will not be asked for it again. To update your payment information click your ‘User Name’ in the bottom left corner and select ‘Profile’.
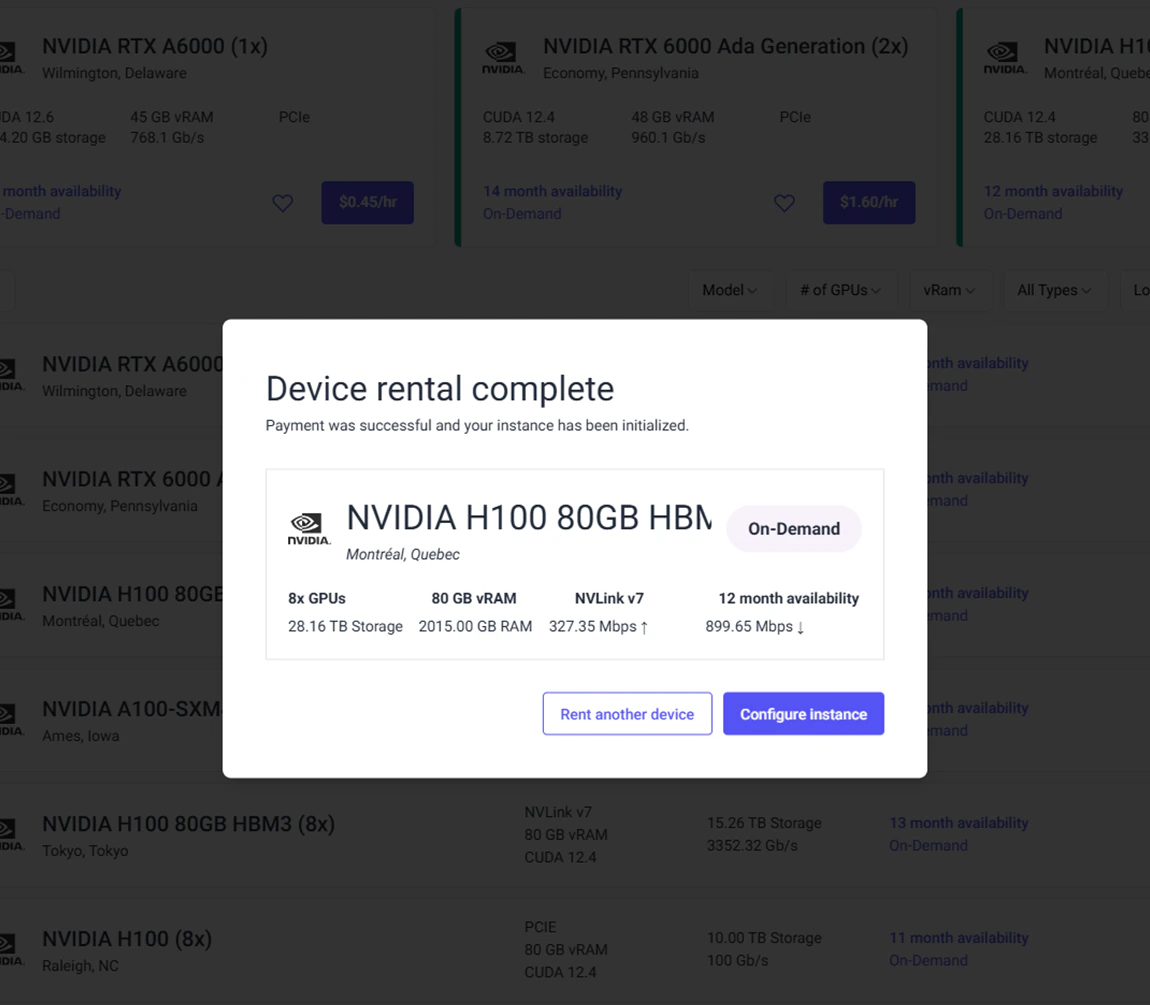 Proceed to the next guide to learn how to work with your instance.