Overview
Announcing the Juice Managed Template on GPU Trader. Now users of Juice can augment their pooled GPU resources with on-demand capacity, scaling up when needed. Juice Labs provides software “Juice” that enables GPU-over-IP, allowing your GPUs to become remote virtual resources: pooled, shared, and accessed by AI and graphics workloads. This allows you to share and better utilize your existing GPUs in your organization. But what if you need additional capacity beyond your fleet? That is where GPU Trader can help. The Juice Managed Template allows users to quickly rent and integrate on-demand capacity from GPU Trader to new or existing GPU Pools on Juice. In this blog, you will learn how to rent an on-demand instance from GPU Trader, install the Juice Agent using our managed template, add the capacity to your Juice GPU pool, and access the capacity from your workstation. If you are new to Juice, their documentation provides detailed instructions on configuration. These are the major steps we will cover:- Things you’ll need… to be successful.
- Uh oh! I’m out of GPUs.
- Yes! Extra capacity.
- Adding a GPU to your Juice Pool.
- Let’s Go!
Things you’ll need… to be successful
Here are some prerequsites for completing this tutorial:- Juice system requirements: You will need to use Windows 10/11 or Debian-based distributions of Linux on version 11 and greater, such as Ubuntu 20.04 and greater.
- Install the Juice CLI App. CLI App Installation documentation.
- Log in to the Juice CLI App. CLI App documentation.
- A credit card for renting a GPU.
Uh oh! I’m out of GPUs
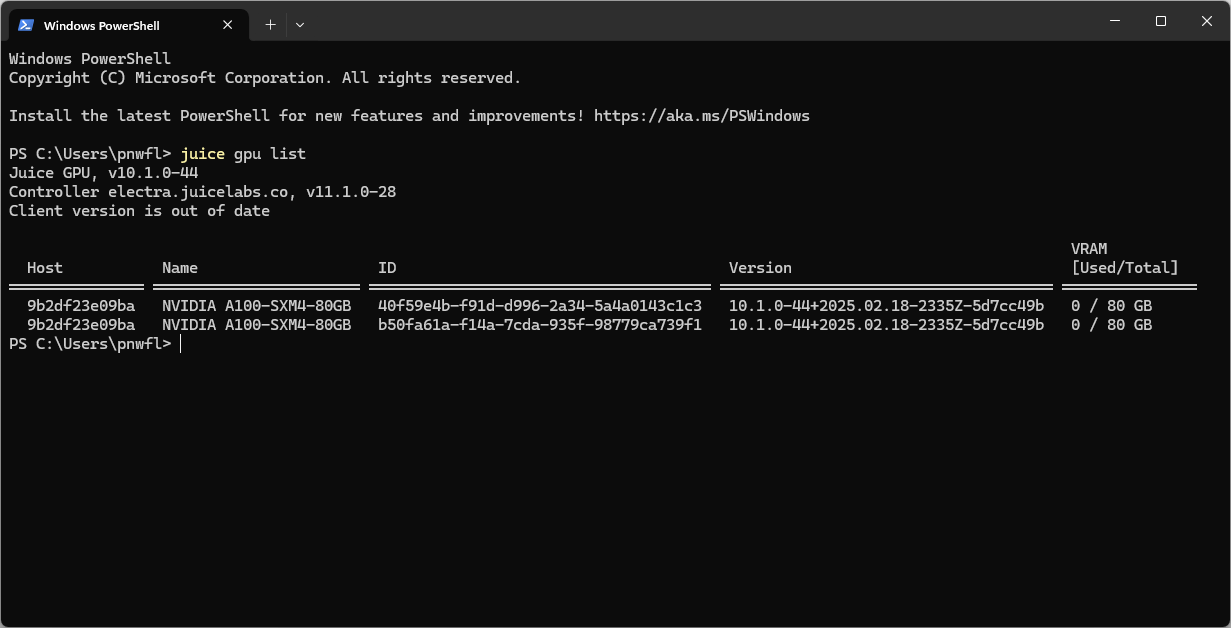
Log in to the Juice console at https://app.juicelabs.co/ or use your terminal to run the juicegpu list command to see how many GPUs are in your pool. Currently, we have two.
Yes! We found extra capacity
Log in and rent an on-demand GPU instance from GPU trader to find additional capacity and add it to our Juice Pool. To find an instance:- Navigate to https://console.gputrader.io
- Click “Sign in” at the bottom left of the console to create a GPU Trader account or log in if you already have one.
- Browse the inventory, using the “Filters” to find the GPU that fits your requirements. Hint: Available inventory is highlighted in “Green,” and inventory that has been rented is highlighted in “Gray.”
- Click the “Price/hr” button to rent the instance. Users can choose the number of cards with which they want to configure the instance. After reviewing the configuration, click “Continue” to enter payment information. If you have rented before, your payment information is saved, and you will proceed directly to the instance configuration step.
Adding a GPU to your Juice Pool
If you made it this far, you have successfully rented a GPU! Now we can configure the instance with the Juice Agent and add it to your Juice Pool.- Click “Add Stack” on your instance configuration page.
- Choose the “Juice Labs Agent” managed template.
- Now you must configure the Juice Agent to communicate with your Juice Pool. We are using Windows and will use the juice command in the terminal. If you are using Linux, use ./juice.
JUICE_TOKEN and JUICE_POOL. The GPU Trader platform will automatically add the JUICE_HOST_IP using ${EXTERNAL_IP}.
JUICE_TOKEN: Generate the Machine-to-Machine token from your terminal using the following command:
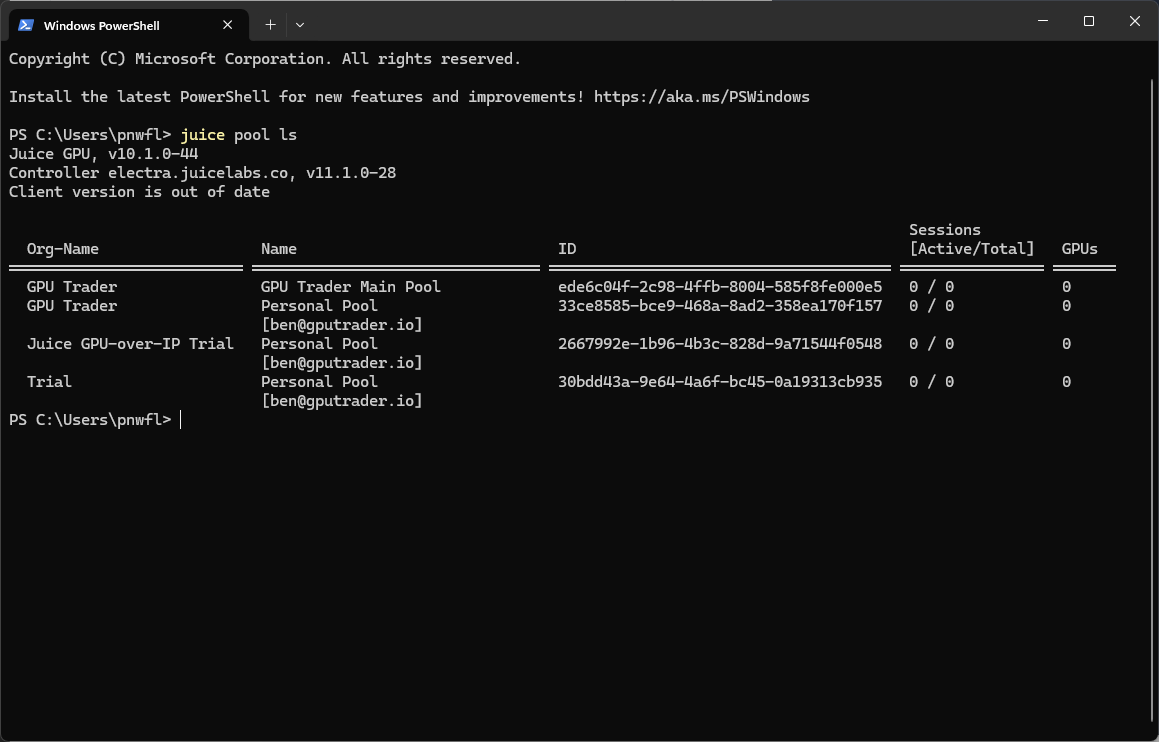
JUICE_POOL: In your terminal, run the command juice pool ls to list your pool IDs. Copy the ID of the pool you wish to use and paste it into the environment variable “Value.”
Example output:
image
3.3 If you did the last two steps correctly, your template should look like this example:
image
- If your template looks like the example above with the outputs you generated for the
JUICE_TOKENandJUICE_POOL, click “Use Template” to instantiate the stack on your instance. Once it is complete, it should look like this:
Let’s Go!
To verify the GPUs are in your pool, you can log in to the Juice console or use the terminal to run thejuice gpu list command. You can see that we now have eight GPUs available in our pool.