> ## Documentation Index
> Fetch the complete documentation index at: https://docs.gputrader.io/llms.txt
> Use this file to discover all available pages before exploring further.
# Configure your Instance
## Overview
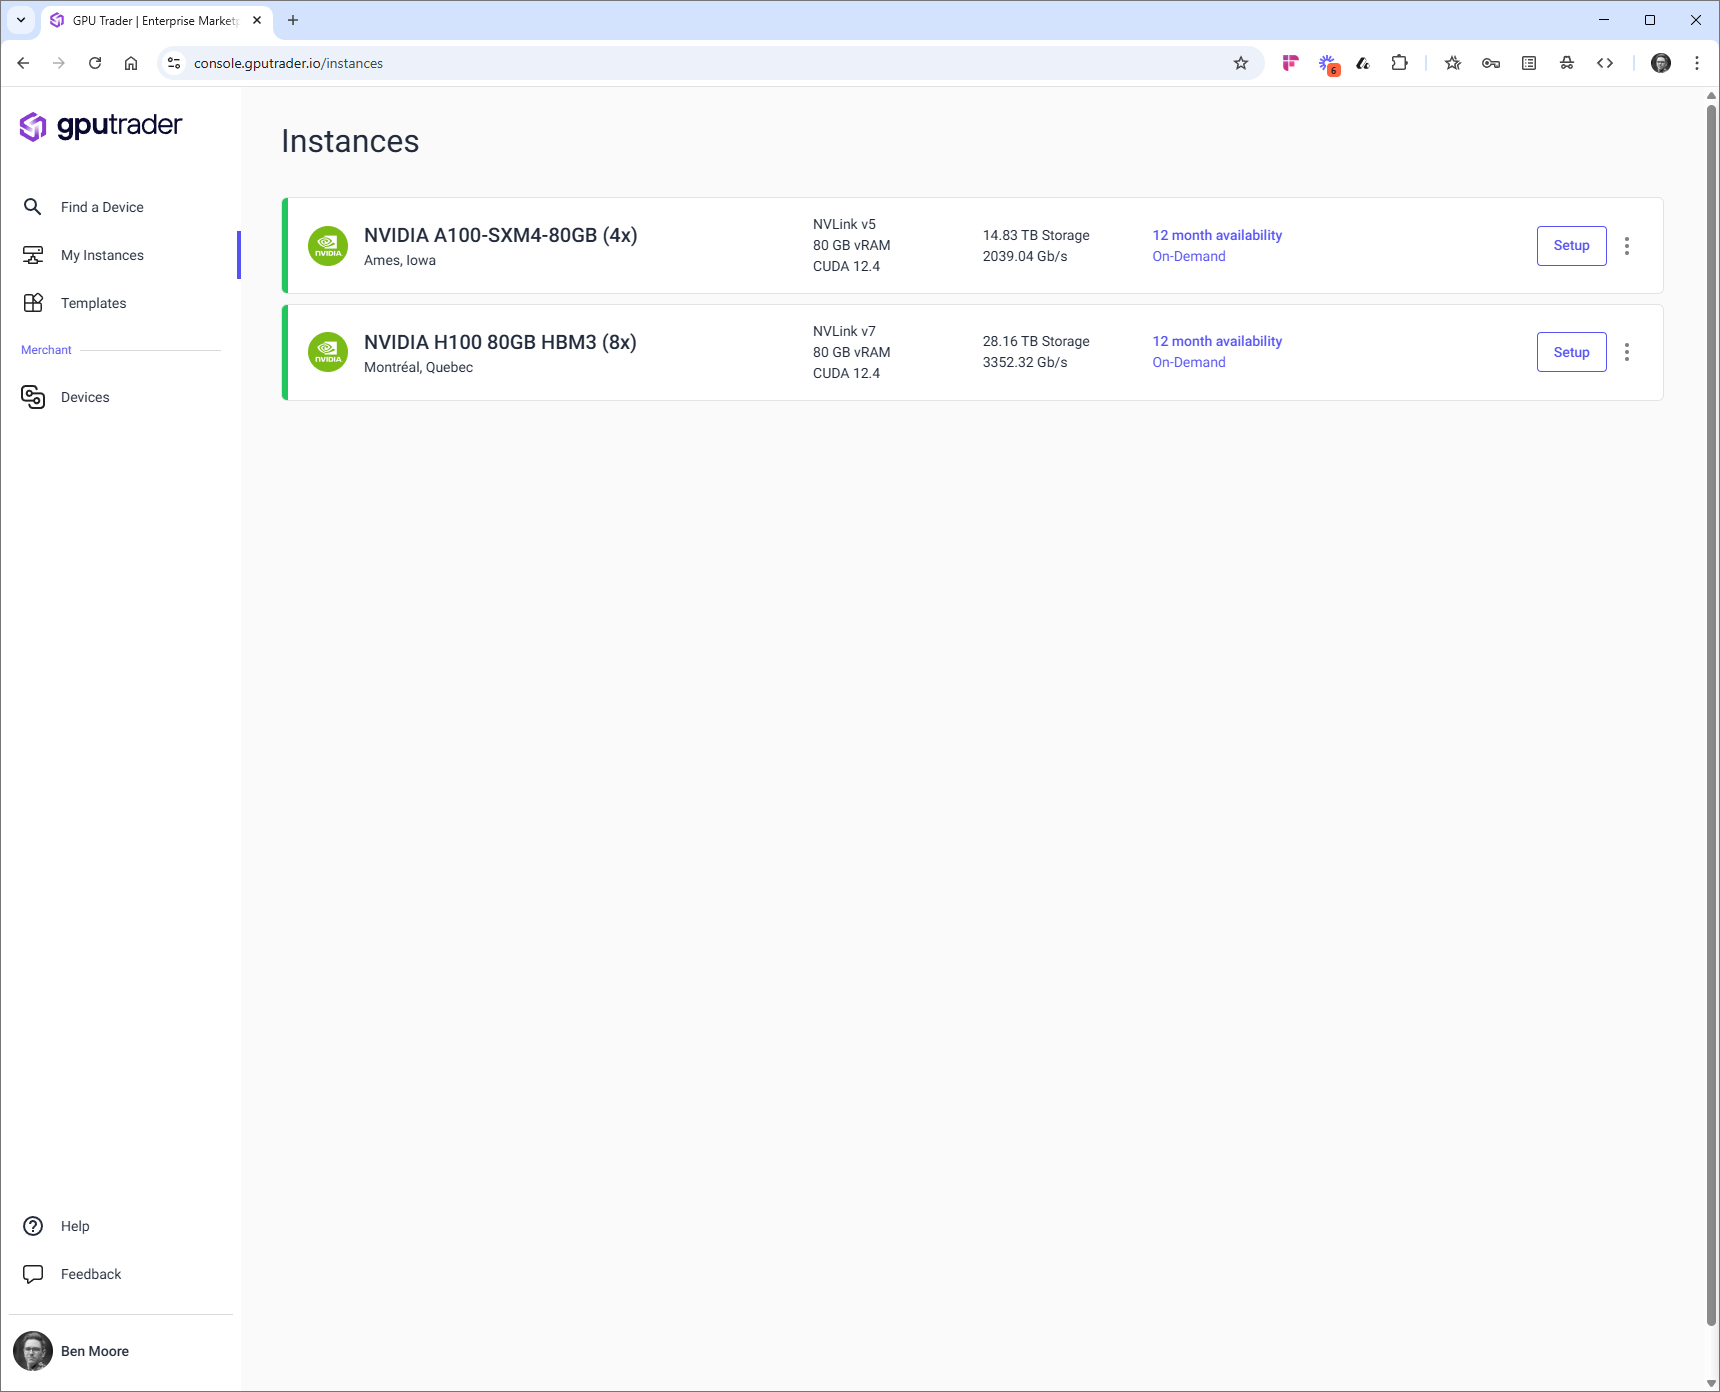
Now that you have completed the rental process it is time to start working with your instance. After clicking 'Configure Instance' you will be redirected to the instances detailed page.
If you navigate somewhere else in the platform you can always return to the instance details page by clicking 'My Instances' in the navigation bar.
 ## Configure an Instance
The instance details page allows you to give your instance a custom name, see the instance status, add stacks, work with stacks that are running and end your rental.
## Configure an Instance
The instance details page allows you to give your instance a custom name, see the instance status, add stacks, work with stacks that are running and end your rental.
 ### Naming an Instance
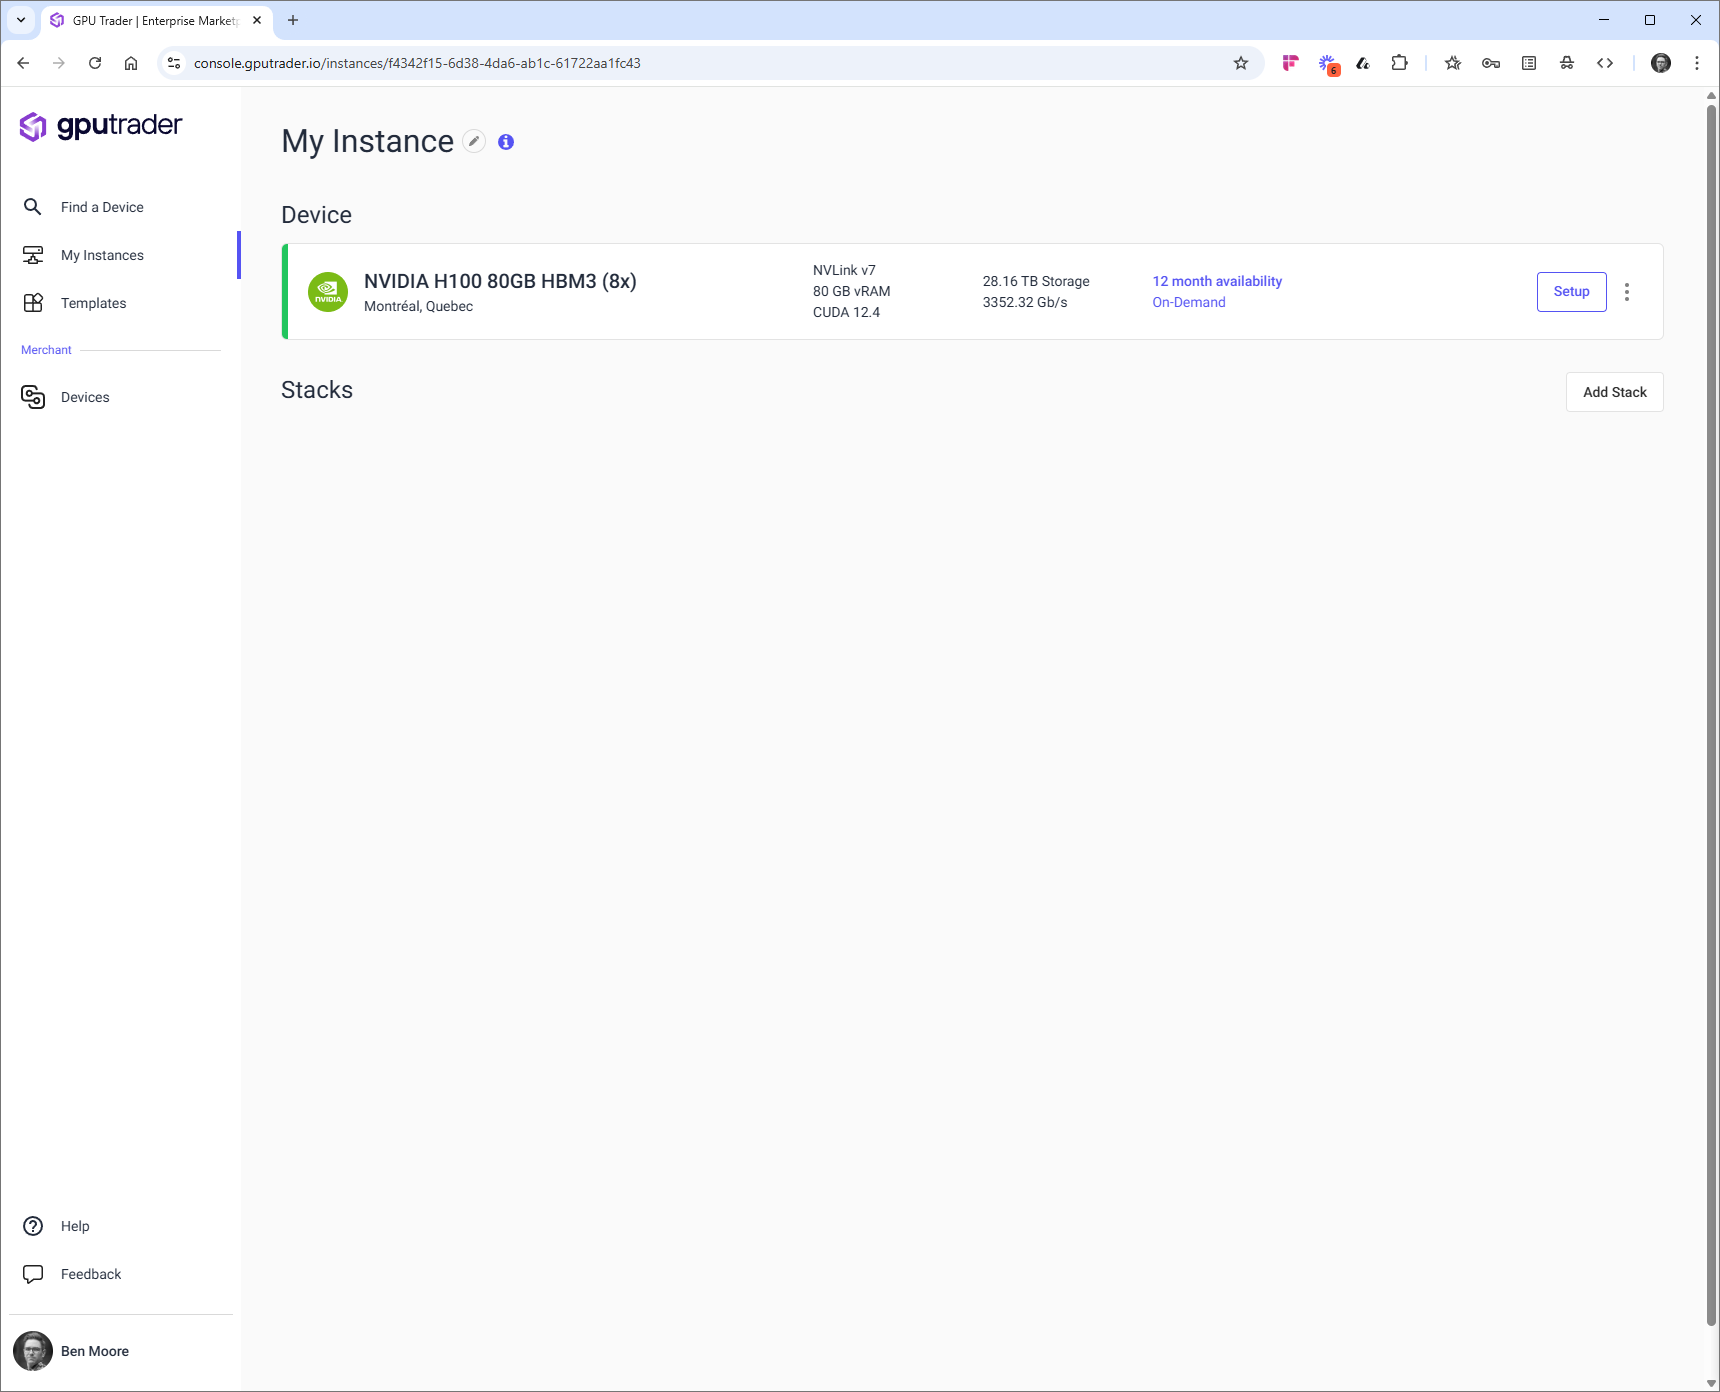
Click the 'Pencil' icon next to the default name *My Instance* and give your instance a unique name to identify it by in the future.
### Naming an Instance
Click the 'Pencil' icon next to the default name *My Instance* and give your instance a unique name to identify it by in the future.
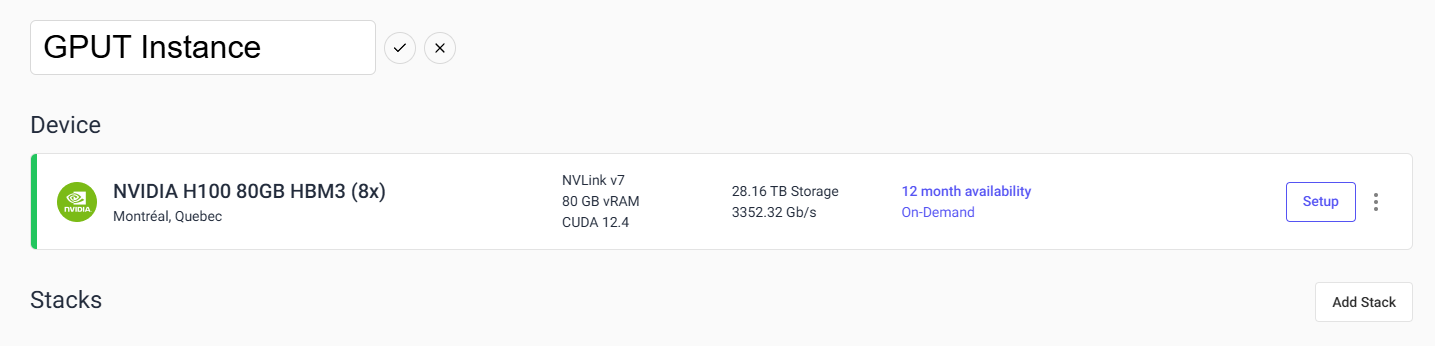 Click the 'Check' icon to save your name.
### Adding a Stack
Click the 'Check' icon to save your name.
### Adding a Stack
 Click 'Add Stack' or 'Setup' to select a template to apply to your instance.
Learn more about GPU Trader [Templates](/renters/managedtempalates)
### Ending the Rental
Click the 'Kebab' icon on the right side of the instance and select 'End Rental' when you are finished with your instance. This action will delete all your stacks and the resources and data within them, remove the instance from your account, and place it back in the GPU Trader inventory.
Click 'Add Stack' or 'Setup' to select a template to apply to your instance.
Learn more about GPU Trader [Templates](/renters/managedtempalates)
### Ending the Rental
Click the 'Kebab' icon on the right side of the instance and select 'End Rental' when you are finished with your instance. This action will delete all your stacks and the resources and data within them, remove the instance from your account, and place it back in the GPU Trader inventory.
 Proceed to the next guide to learn about applying GPU Trader templates to your instance and instantiating a stack.